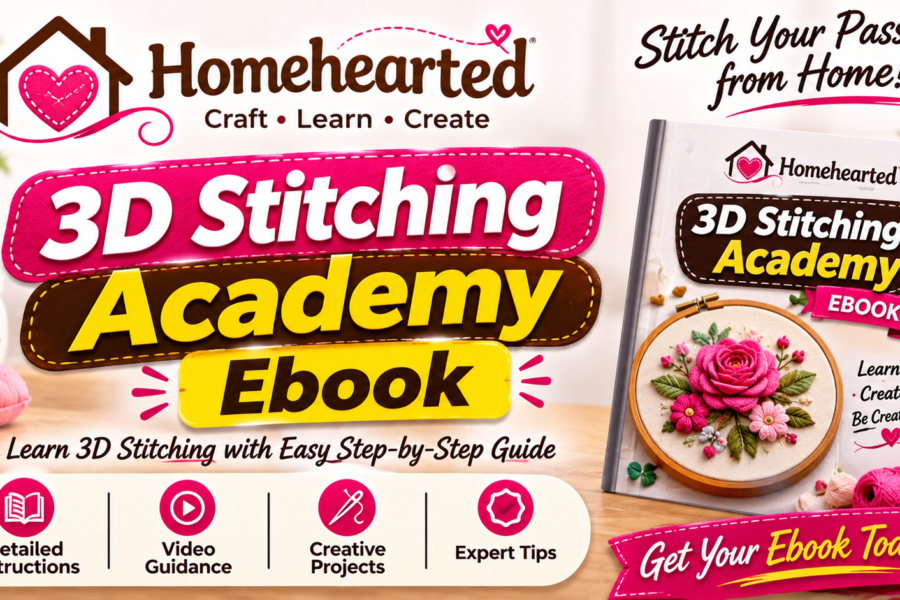
If you searched for the homehearted 3d stitching academy ebook, you probably want one of three things: to buy it, to find out what’s in it, or to check whether it’s legitimate. I spent time on all three, and the findings are mixed. This post covers what I could confirm, what I couldn’t, and how to learn raised embroidery properly whether or not this particular ebook turns out to be good.
The Short Answer
The homehearted 3d stitching academy ebook is described in a couple of blog posts, but I could not find a publisher page, sales listing, ISBN, preview, or customer review for it. That doesn’t prove it doesn’t exist. It does mean you should treat every claim about its contents as unverified until you see a real product page.
Here is where things stand:
- Confirmed: at least two websites publish articles that use the ebook’s name as a topic.
- Not confirmed: price, page count, author, file format, table of contents, refund policy, and sample pages.
- Contradictory: the two articles describe different kinds of stitching.
What I Found When I Searched
Two blog posts and no product page
Searching the exact name returns two articles written around the title. One is a roughly 2,000-word essay on 3D stitching in general. The other is a three-minute post that makes specific promises about machine settings, stitch counts, licensing, and pricing tips. Neither links to a checkout page, a sample chapter, or a named author.
Neither article shows a photograph of a finished piece or a page from the book. For a visual craft, that is the biggest warning sign. A real stitching ebook sells itself with close-up photos of the work.
Claims that don’t match each other
The first article treats the book as a hand-embroidery guide covering layered stitches, padding, and thread sculpting. The second describes machine embroidery, with RPM advice, multi-needle machines, and foam. Hand stumpwork and machine foam embroidery are different skills with different tools. A single beginner’s ebook could cover both, but nobody has shown a table of contents saying so.
The second article also credits the guide to an unrelated “thermal cyberglasses” product in its opening line and cites a soccer-academy news story as supporting evidence. Neither has anything to do with embroidery.
A Buyer’s Checklist Before You Pay for Any Stitching Ebook
Before paying for the homehearted 3d stitching academy ebook, or any digital craft guide, run through this list. Each row is something a legitimate seller can show you in under a minute.
| What to check | What a legitimate seller shows | Red flag |
|---|---|---|
| Author | Full name, a portfolio, or a social account with real work | “Our team of experts” |
| Contents | Chapter list with page numbers | Only adjectives like “comprehensive” |
| Samples | Two or three preview pages or a free pattern | No preview at all |
| Photos | Original close-ups of finished stitching | Stock images or AI-looking images |
| Format | PDF, EPUB, or video, with file size | “Instant download” with no details |
| Price | Shown before checkout | Price only after email signup |
| Refunds | A written policy on the sales page | “Confirm before purchase” with no terms |
| Reviews | Dated reviews on a third-party platform | Testimonials with no names |
If an offer fails more than two rows, skip it. You can learn everything below for free.
What 3D Embroidery Actually Is
3D embroidery goes by several names. One beginner’s guide lists stumpwork, raised work, and raised embroidery as other names for the same family of techniques. The common idea is that some part of the design lifts off the fabric, either because of padding underneath or because it is stitched separately and attached.
The three main approaches
- Padded stitching: a layer of felt, batting, or foam sits under satin stitches to create height. This is the easiest way to start.
- Stumpwork: petals, leaves, and wings are worked on wire or a detached base and then stitched onto the fabric so they stand free.
- Machine 3D (puff) embroidery: an embroidery machine stitches over a foam sheet, which gives the raised, lettered look common on caps.
The first two are hand techniques. The third needs a machine and digitized files. If a product doesn’t say which one it teaches, ask before buying.
Materials That Matter
Most 3D stitching failures come from the wrong materials, not the wrong technique. Here is a practical starting kit for hand work.
| Item | Starting choice | Why it matters |
|---|---|---|
| Fabric | Medium-weight cotton or linen twill | Light fabric puckers under padding |
| Hoop | 5 to 7 inch wooden hoop with a tight screw | Loose fabric ruins tension |
| Thread | 6-strand cotton floss, plus perle cotton for texture | Floss splits into strands for fine control |
| Needles | Embroidery size 7 to 9, plus a chenille needle for thick thread | A needle too small for the thread causes fraying |
| Padding | Wool felt, 1 to 2 mm thick | Felt holds its shape; cheap craft foam crumbles |
| Wire | Fine cotton-covered or enamel wire for stumpwork | Lets petals and wings stand free |
| Stabilizer | Light cotton backing behind the fabric | Prevents distortion under dense stitching |
Buy the felt and wire last. Spend your first hour with floss and a practice scrap, because tension control is the skill everything else depends on.
Three Raised Stitches You Can Practice Today
These need no ebook. A scrap of fabric, floss, and a hoop are enough.
Padded satin stitch
This gives you a smooth raised shape, such as a petal or a berry.
- Draw a small oval on your fabric.
- Cut a felt oval about 2 mm smaller than the drawing.
- Tack the felt in place with two or three tiny stitches at the center.
- Outline the shape with split stitch to lock the edge.
- Cover the felt with satin stitches that run across the shortest direction, going over the edge and down into the fabric.
- Keep the stitches side by side without overlapping, and pull gently, not tight.
If the felt shows through, add a second layer of satin stitches running in the opposite direction.
Bullion knot
This makes a rolled, rope-like stitch used for rose petals and caterpillar bodies.
- Bring the needle up at point A and take a small backstitch to point B, leaving the needle tip out.
- Wrap the thread around the needle tip. For a first attempt, try 8 to 10 wraps, enough to fill the distance from A to B.
- Hold the wraps flat with your thumb and pull the needle through slowly.
- Tug the thread back toward B so the coil lies down, then pass the needle down at B.
The most common mistake is wrapping too tightly, which makes the needle impossible to pull through. Wrap loosely and keep the coil even.
Detached buttonhole petal
This is the core stumpwork technique. It makes a petal or leaf that stands off the fabric.
- Stitch an outline of the petal shape with small anchor stitches along the bottom edge only.
- Work rows of buttonhole stitch into the anchor line, not into the fabric.
- Continue row by row, working into the loops of the row above, and decrease at the edges to shape the petal.
- Finish by taking the thread through to the back and securing it.
Because the petal is attached only at its base, it can be gently lifted and shaped. Adding a wire around the edge makes it hold a curve.
Troubleshooting Raised Embroidery
| Problem | Likely cause | Fix |
|---|---|---|
| Fabric puckers around the design | Hoop too loose, or stitches pulled too tight | Re-hoop drum-tight and ease off your tension |
| Padding shows through the satin | Stitches too sparse or too thin | Add a second layer of stitches in the crossing direction |
| Felt edges look ragged | Cut with dull scissors | Use sharp embroidery scissors and trim after outlining |
| Bullion knots won’t pull through | Wraps too tight | Loosen the wraps and use a longer needle |
| Detached petals sag | No wire or too few anchor stitches | Add wire or tighten the first rows |
| Thread keeps splitting | Needle eye too small or thread too long | Use a bigger needle and cut thread to about 18 inches |
| Design looks flat | No height variation | Stack two felt layers of different sizes |
Alternatives That Verifiably Exist
If you want a structured book or course now, these have real product pages with details you can check:
- 3D Embroidery: A Beginner’s Guide to Modern Raised Stitches by Ashley Denn. The listing says it teaches over 30 raised stitches inside 20 in-hoop projects.
- Stitch by Stitch: A Modern Embroidery Guide, a digital product on Skillshare. It is a PDF with five patterns, instructions, and links to video tutorials, and one project is a 3D floral vase.
- Modern Embroidery by Rachael Dobbins, available as an ebook. The publisher describes it as teaching 3-D techniques for flowers, portraits, and other patterns.
Each one tells you the author, the project count, and the format before you spend anything. That is the standard to hold the homehearted 3d stitching academy ebook to.
How to choose between them
| If you want | Look at |
|---|---|
| The most stitches to learn | The Ashley Denn book |
| Video support alongside a PDF | Stitch by Stitch |
| Artistic, freeform texture | Modern Embroidery |
| Machine in-the-hoop projects | A machine-specific course; hand-stitch books won’t cover digitizing |
Can You Sell 3D Embroidery in the US?
Yes, and raised work usually sells for more than flat work because it takes longer and looks distinctive. The mistake most new sellers make is pricing by materials alone.
A simple formula:
- Materials cost
- Plus your hourly rate multiplied by hours worked
- Plus marketplace or booth fees
- Plus packaging and shipping supplies
Example for illustration only: a small framed floral takes 4 hours. Materials and frame cost $9. At $15 an hour, labor is $60. Add about 10 percent for fees (check your platform’s current rates, since they change), and you land near $76 before shipping. Many beginners price the same piece at $25 and quietly lose money.
Two practical notes for US sellers. First, if you sell patterns or kits made from someone else’s published designs, you need their permission. Selling your own finished pieces made from techniques is generally fine, but a purchased pattern’s license may limit commercial use, so read it. Second, take your own photos. Close-up shots of raised stitching in side light sell the texture that a flat photo hides.
My Verdict on the Homehearted 3D Stitching Academy Ebook
Here is my read on the homehearted 3d stitching academy ebook, based only on what can be checked: there is not enough public evidence to recommend buying it. The articles that mention it are vague, contradict each other, and show no sample of the product. That could mean the ebook is new or small and hasn’t built an online presence. It could also mean the name is attached to a product that isn’t what the articles claim.
What I’d do in your position:
- Look for an official sales page with an author name and sample pages.
- Ask the seller directly whether it teaches hand stitching or machine embroidery.
- Pay with a method that offers buyer protection, and screenshot the refund terms before checking out.
- If the seller can’t answer those questions, spend the money on one of the verified books above instead.
Meanwhile, the three stitches in this post are enough to produce a raised floral motif this weekend.
Frequently Asked Questions
Is the homehearted 3d stitching academy ebook real?
I found articles mentioning it but no product page, author, or reviews, so I can’t confirm it. Ask for sample pages before buying.
Does the homehearted 3d stitching academy ebook teach machine or hand embroidery?
Sources disagree. One describes hand techniques and the other describes machine settings, so confirm with the seller first.
Can I get a refund on the homehearted 3d stitching academy ebook?
No refund terms were visible in anything I found. Get the policy in writing before you pay.
What is the easiest 3D embroidery technique for beginners?
Padded satin stitch. It needs only felt, floss, and basic satin stitches.
Do I need special needles for raised embroidery?
Standard embroidery needles in sizes 7 to 9 work for most projects. A chenille needle helps with thick thread.
What is the difference between stumpwork and padded embroidery?
Padded embroidery raises a shape from the fabric surface. Stumpwork creates separate pieces, often wired, that stand free of the fabric.
How long does it take to learn 3D embroidery?
You can make a simple raised motif in an afternoon. Clean, even tension usually takes a few weeks of regular practice.
Can I sell what I make from an ebook pattern?
It depends on the license. Check whether commercial use is allowed before listing anything for sale.
What fabric works best for 3D stitching?
Medium-weight cotton or linen twill. Thin fabrics pucker under padding.
Do I need an embroidery machine for 3D work?
No. Hand techniques like padded satin and stumpwork need only a hoop, needle, and thread.